How to Place a Nintendo Switch Console into a Router's DMZ
Instructions on placing a Nintendo Switch console into a router's DMZ.
Important:
- While Nintendo provides this information for our consumers' use, it is up to each consumer to determine what security needs they have for their own networks, and to decide how best to configure their network settings to meet those needs.
- The following steps are general steps that apply to most routers. If you need specific instructions for your router, please contact the manufacturer of the router for further assistance.
Complete These Steps:
- Perform the following steps to assign a static IP address to your Nintendo Switch console:
On a PC or smart device:
- Using a device on your network (PC, laptop, smart device, etc.), locate the following network information:
- IP Address
- Subnet Mask
- Gateway
On the Nintendo Switch console:
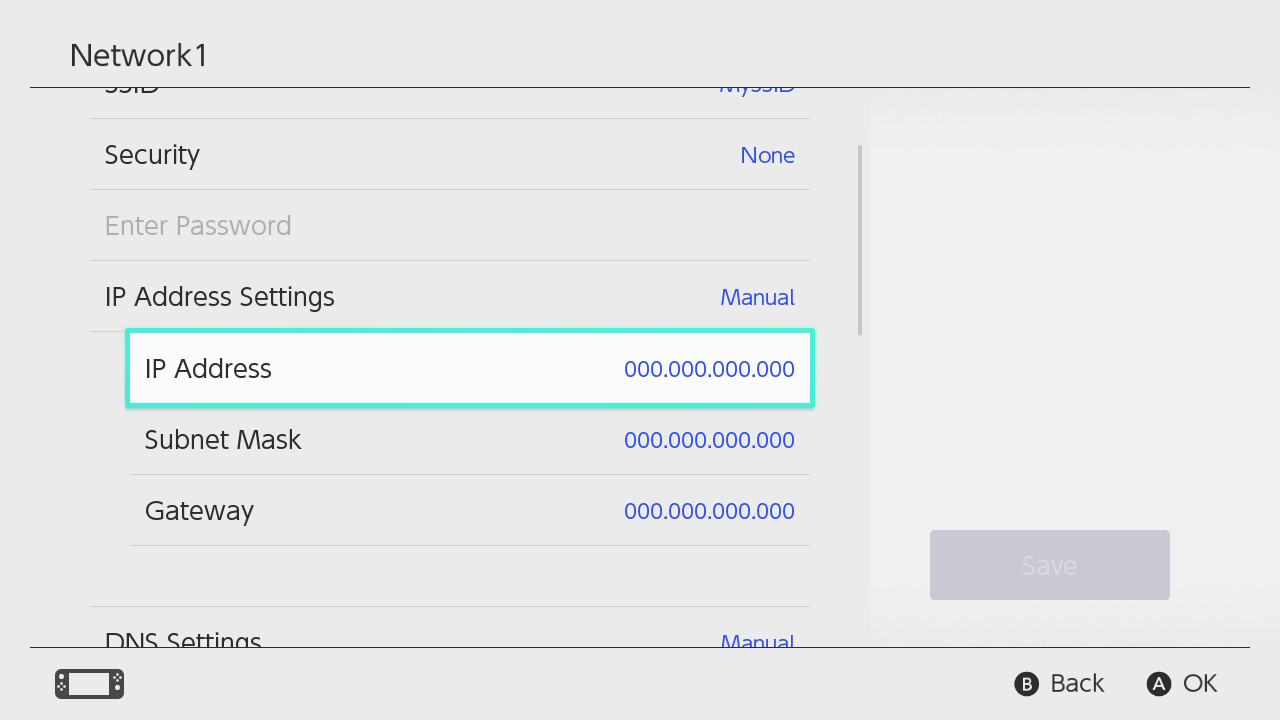
- From the detailed internet settings page, select "IP Address Settings."
- Select "Manual."
- Select "IP Address" and then hold down the B Button to delete the existing IP address (it defaults to zeros).
- Enter the IP address you found on the network device, but add 20 to the last section of digits, and then select "OK."
- As an example, if your computer's IP address display as 192.168.2.5, enter 192.168.2.25 on the Nintendo Switch.
Important:
Every device on a network must have a different, unique IP address. - Select "Subnet Mask," and then press the B Button to delete the existing subnet mask.
- Enter in the subnet mask as it appears in your network settings, and then select "OK."
- For most networks, the subnet mask is 255.255.255.000.
- Select "Gateway," and then press the B Button to delete the existing gateway.
- Enter in the default gateway as it appears in your network settings, and then select "OK.".
- Using a device on your network (PC, laptop, smart device, etc.), locate the following network information:
- Access your router's settings.
- Locate the DMZ or "Demilitarized Zone" setting.
- This is often located under an area within the router settings titled "Firewall," "Virtual Server," "Security," or "Applications and Gaming."
- Choose the option to enable this feature.
- Enter the IP Address assigned to your console into the designated area of the router settings.
- Select the appropriate option within your router settings to "Save" or "Apply" the changes made.